
| How To... | Why not..? | Scripts | Patches | |
Last update: 2020-09-27
This post shows you how to install WordPress on OpenBSD. It uses httpd(8) as web server, PHP, and MariaDB as database.
You can install all the required software that is not part of OpenBSD base from the packages:
$ doas pkg_add -i php-mysqli php-curl php-gd php-zip pecl74-imagick mariadb-server
The PHP packages will present you a list of available versions. I recommend you choose the latest one available. At the time of writing this will be 7.4 on OpenBSD 6.7-release.
You must make sure that the required PHP extensions are enabled. The easiest way to this is the following:
$ cd /etc/php-7.4.sample/
$ for i in * ; do
> doas ln -sf ../php-7.4.sample/$i ../php-7.4/
> done
I recommend that you create a dedicated login group for mysqld -
although the package readme tells you that you only need it on busy
servers. Append the following to /etc/login.conf:
mysqld:\
    :openfiles-cur=1024:\
    :openfiles-max=2048:\
    :tc=daemon:
Create the initial database for MariaDB:
$ doas mysql_install_db
Now you can start mysqld(8) and secure the installation:
$ doas rcctl enable mysqld
$ doas rcctl start mysqld
$ doas mysql_secure_installation
With httpd(8) chrooted to /var/www you must make sure that the
connection to the socket of the MariaDB server is available within the
chroot. First create a folder in which the socket will be placed:
$ doas install -d -m 0711 -o _mysql -g _mysql /var/www/var/run/mysql
Second you must change the socket path in /etc/my.cnf. There is a
section [client-server] which covers that for both with the option
socket:
[client-server]
socket = /var/www/var/run/mysql/mysql.sock
You must restart mysqld(8) in order to activate the new socket:
$ doas rcctl restart mysqld
The last step is to create the database for WordPress:
$ mysql -u root -p
Enter password:
Welcome to the MariaDB monitor.  Commands end with ; or \g.
Your MariaDB connection id is 3
Server version: 10.4.12-MariaDB OpenBSD port: mariadb-server-10.4.12v1

Copyright (c) 2000, 2018, Oracle, MariaDB Corporation Ab and others.

Type 'help;' or '\h' for help. Type '\c' to clear the current input statement.

MariaDB [(none)]> CREATE DATABASE wordpress;
Query OK, 1 row affected (0.01 sec)

MariaDB [(none)]> GRANT ALL PRIVILEGES on wordpress.* TO "wordpress"@"localhost"
    -> IDENTIFIED BY "password";
Query OK, 1 row affected (0.00 sec)

MariaDB [(none)]> FLUSH PRIVILEGES;
Query OK, 1 row affected (0.00 sec)

MariaDB [(none)]> EXIT
Bye
I assume that you want to run WordPress as the only web application on your server. If this is the case, the following httpd.conf(5) is for you:
server "default" {
    listen on egress port http
    log style combined

    root "/wordpress"
    directory index index.php
    location "*.php" {
        fastcgi socket "/run/php-fpm.sock"
    }
}

types {
    include "/usr/share/misc/mime.types"
}
You may want to change the log style from combined to forwarded if
you run httpd(8) behind a proxy that sets the headers X-Forwarded-For
and X-Forwarded-Port.
In order to make name resolving work within the chroot(2) you should copy your hosts(5) file and your resolv.conf(5) file into it:
$ cd /var/www
$ doas mkdir etc
$ for f in hosts resolv.conf ; do doas cp /etc/$f etc/ ; done
First you should fetch the latest version of WordPress:
$ cd
$ ftp -o wordpress.tar.gz https://wordpress.org/latest.tar.gz
Next you can unpack the archive into the chroot of httpd(8), set the permissions and prepare for the configuration:
$ cd /var/www
$ doas tar xzf /home/user/wordpress.tar.gz
$ cd wordpress
$ find . -type d -exec doas chown www:daemon {} \;
$ find . -type f -exec doas chown www:bin {} \;
$ doas cp wp-config-sample.php wp-config.php
Edit the new file wp-config.php and add or set the following values:
define('DB_NAME', 'wordpress');
define('DB_USER', 'wordpress');
define('DB_PASSWORD', 'password');
define('DB_HOST', 'localhost:/var/run/mysql/mysql.sock');
WordPress needs access to web servers for downloading of themes and
plugins. If you need to use a proxy for accessing web pages you can add
the following values to wp-config.php:
define('WP_PROXY_HOST', 'proxy.example.net');
define('WP_PROXY_PORT', '8080');
define('WP_PROXY_USERNAME', '');
define('WP_PROXY_PASSWORD', '');
define('WP_PROXY_BYPASS_HOSTS', 'localhost');
Now it is time to actually start httpd(8) and php-fpm:
$ doas rcctl enable php74_fpm httpd
$ doas rcctl start php74_fpm httpd
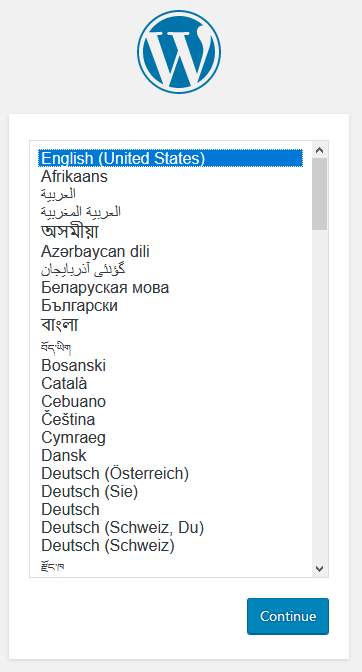
If both daemons are started you can finish the setup of WordPress by opening the URL of your web server in a browser, e. g. http://www.example.net/:
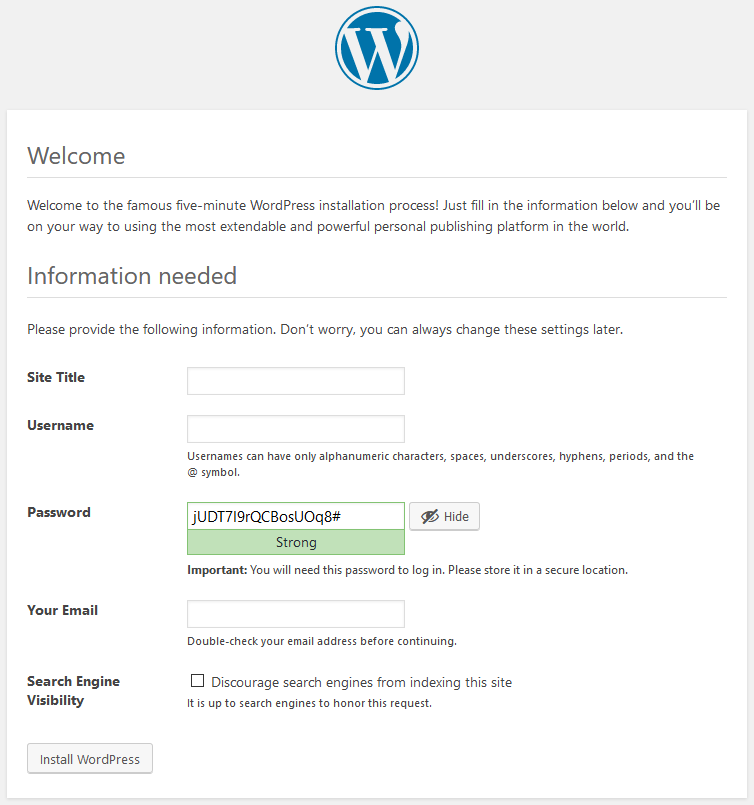
Next you create the initial admin account for your new WordPress site and set its title:
You get a confirmation with a Log In button:
Clicking on the button you get directed to the backend login page of your WordPress site:
Before you make your WordPress site accessible to the public you want to
setup TLS on your server. You need a valid certificate and the private
key belonging to it in PEM format. You can enable TLS by adapting
/etc/httpd.conf:
server "www.example.net" {
    listen on egress tls port https
    tls certificate "/etc/ssl/www.example.net.pem"
    tls key "/etc/ssl/private/www.example.net.key"
    hsts subdomains

    root "/wordpress"
    directory index index.php
    location "*.php" {
        fastcgi socket "/run/php-fpm.sock"
    }
}
If you like you can also configure a redirection in httpd(8) for clients
accessing your server on 80/tcp. Just add the following block to
/etc/httpd.conf:
server "default" {
    listen on egress port http
    location * {
        block return 301 "https://$HTTP_HOST$REQUEST_URI"
    }
}
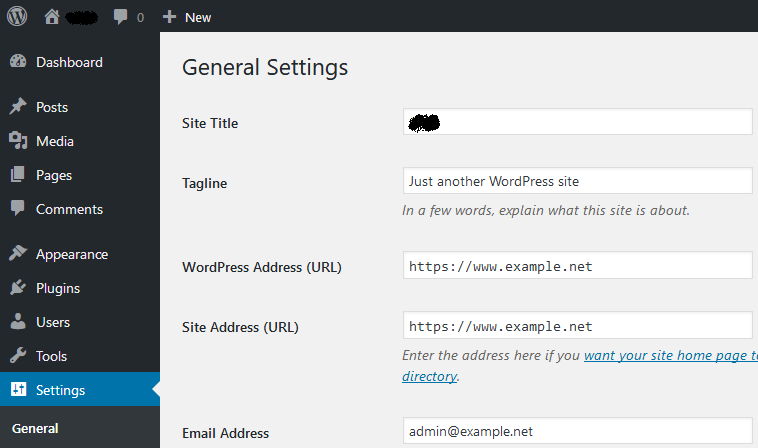
You must make sure that WordPress knows about the correct hostname of the site in its settings:
The one argument against using httpd as webserver for WordPress is its lack of rewrite support that the pretty permalinks of WordPress require. mpfr maintains the patch location-access-tests for httpd. By applying it and recompiling httpd you will be able to use pretty permalinks on your WordPress site.