
| How To... | Why not..? | Scripts | Patches | |
Last update: 2018-10-10
In this post I describe an easy way to authenticate against a central user database like Active Directory using the RADIUS protocol. In a mixed environment this makes it possible to log in to OpenBSD using the user name and password of an user account in Active Directory.
You will have to deploy and configure the role “Network Policy Server” on a system running Windows Server. On the OpenBSD systems a new log in class is required that uses login_radius(8). And you must create local accounts for every user allowed to log in.
It is essential that you trust the whole network path between the OpenBSD systems and the RADIUS server. The RADIUS protocol provides no transport layer security, therefore all RADIUS traffic is clear text.
Please do only follow the steps in this how-to if you fully understand how these changes affect the security of your OpenBSD systems.
The system that will act as the RADIUS server for your OpenBSD systems doesn't need to be a Windows Server system. The only requirement is that it can act as a RADIUS server and authenticate users against Microsoft Active Directory.
The next chapter assumes that you have installed the role “Network Policy Server” on a Windows Server 2012 R2 or 2016.
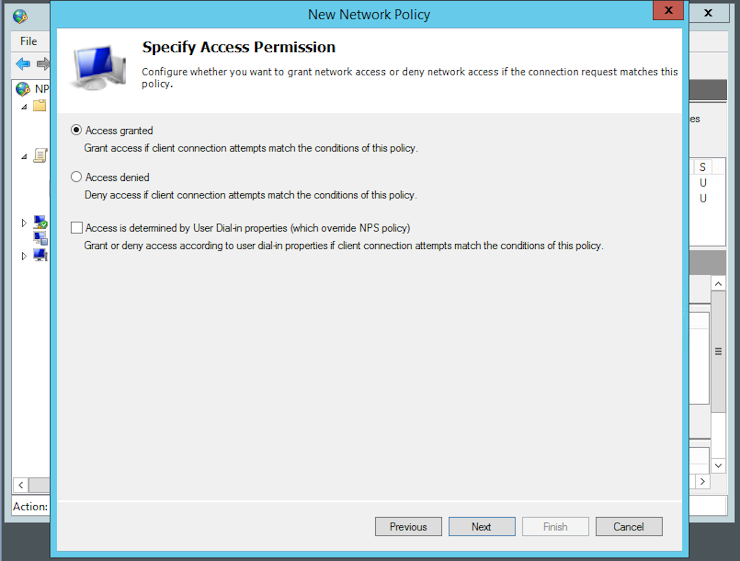
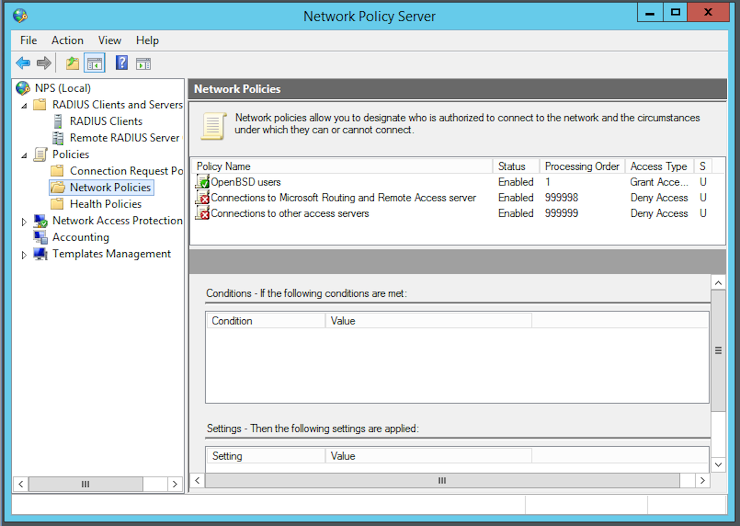
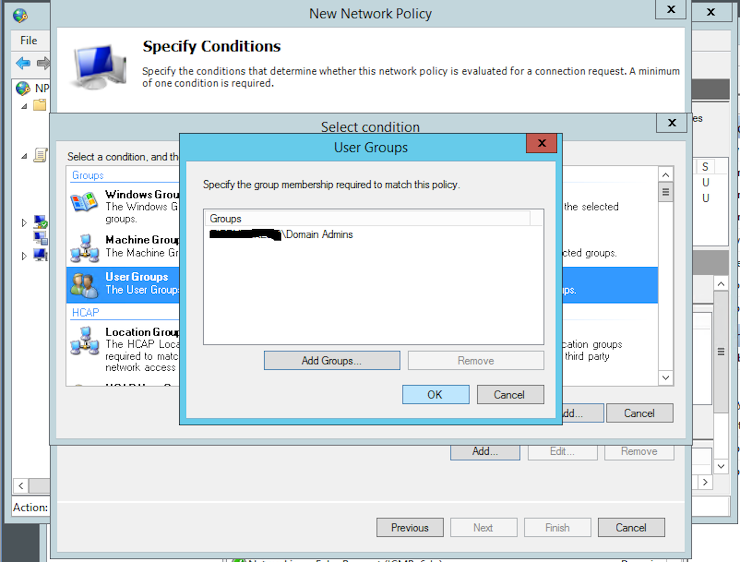
Under NPS -> Policies -> Network Policies add a new policy and name it “OpenBSD Users”, then click Next. I recommend you to add at least a restriction that defines who can authenticate. I choose to add the user group “Domain Admins”:
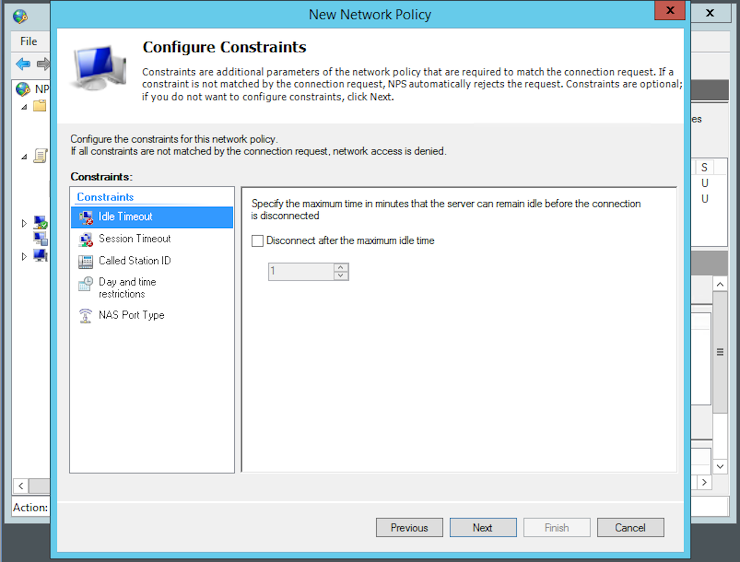
In the next window you can click Next:
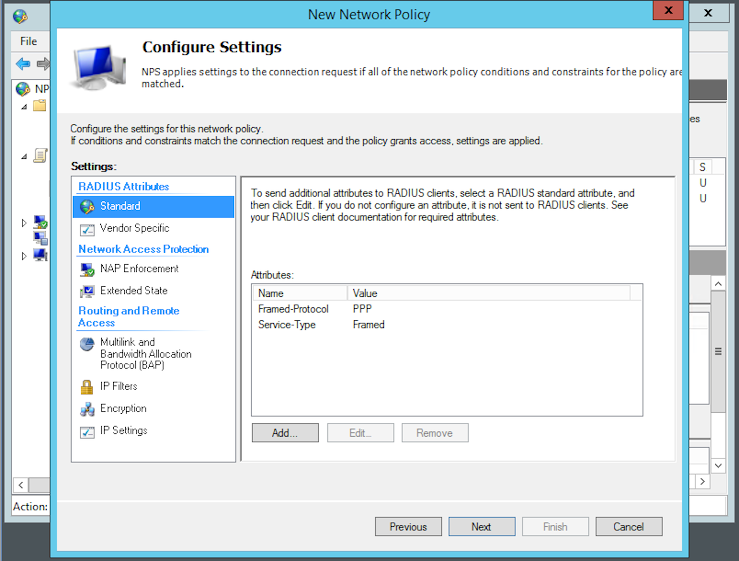
The only authentication method that is supported by login_radius(8) is PAP. Therefore you can deactivate all the preselected methods and just activate “Unencrypted authentication (PAP, SPAP)“ before you click Next:
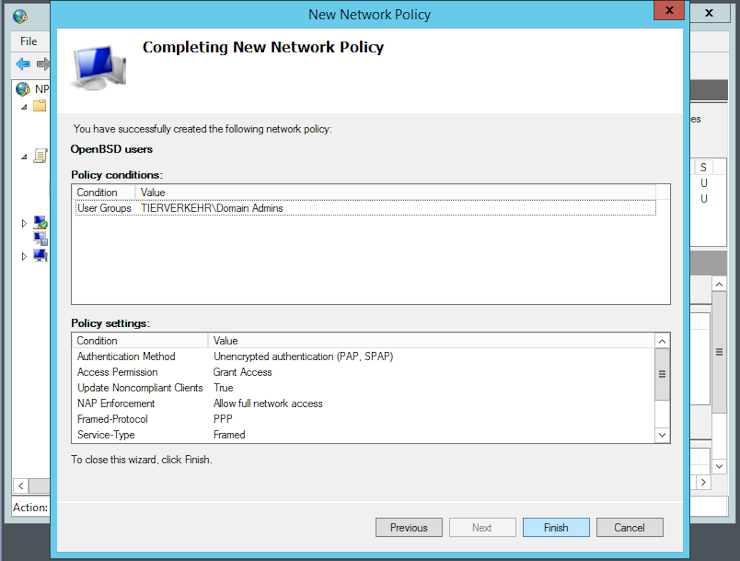
Click Next twice, then Finish:
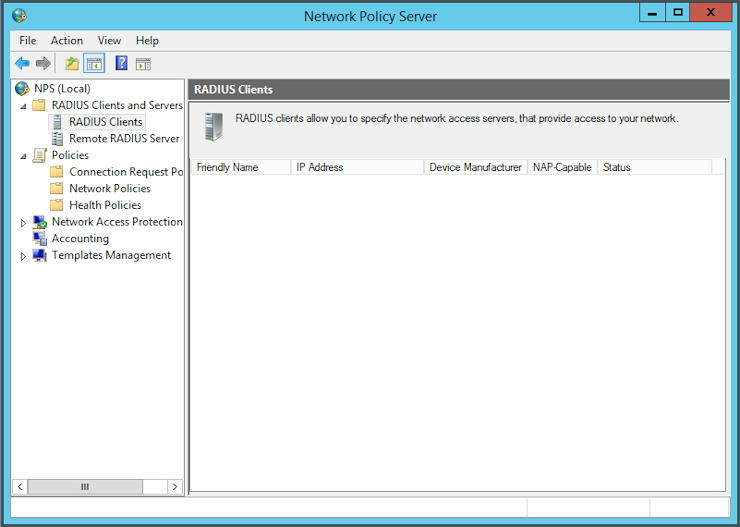
The next step is to register the system(s) that will be allowed to use the RADIUS server for authentication. Go to NPS -> RADIUS Clients and Servers -> RADIUS Clients and create a new one:

Enter the hostname and IP address of the new client in the fields. You can either enter a secret by hand or let the system generate one. Then click OK:
You must store the preshared secret key you have created on the RADIUS
server in the file /etc/raddb/servers. First create the new folder
raddb:
$ doas install -d -g _radius -m 750 -o root /etc/raddb
Now you can create the file /etc/raddb/servers and add the key to it:
192.0.2.81 ThisIsaBadExample
Make sure that not the whole world can read your shared secrets:
$ doas chmod o-r /etc/raddb/servers
As next step you must create the new login class in login.conf(5):
radius:\
    :auth=radius:\
    :radius-port=1812:\
    :radius-server=192.0.2.81:\
    :tc=stuff:
Now you can create a local user account and assign the new login class to it:
$ doas useradd -m -L radius aduser
Now should be able to login as aduser with the same password the account has in the Active Directory:
OpenBSD/amd64 (srv01.example.net) (ttyC0)

login: aduser
Password:
Should the system refuse to log you in make sure that the account is not locked or disabled in Active Directory.